Below table will give you quick reference for selection of data components and view objects for UDFs on different User page.
Entity
|
Page
|
Data Component
|
View Object
|
User
|
Create User
|
Data Component - Catalog
|
userVO
|
Modify User
|
Data Component - Catalog
|
userVO
| |
Search Users
|
Data Component - Manage Users
|
UserVO1
| |
View User Details
|
Data Component - Manage Users
|
UserVO1
| |
My Information
|
Data Component - My Information
|
UserVO1
| |
New User Registration
|
Data Component - User Registration
|
UserVO1
|
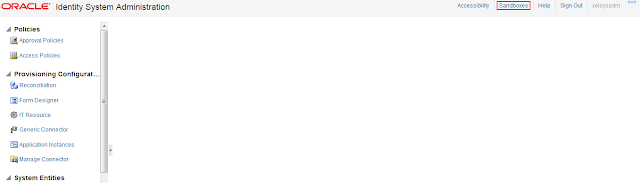
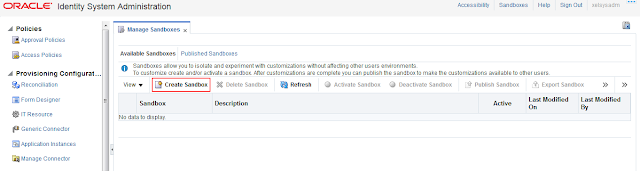
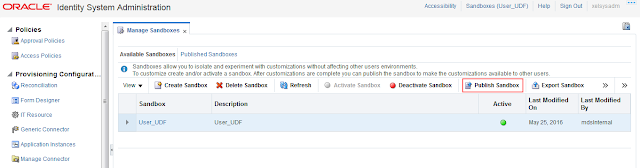
Login to System Administrator Console using "xelsysadm" credential and click on "Sandboxes".
Click on Create Sandbox.
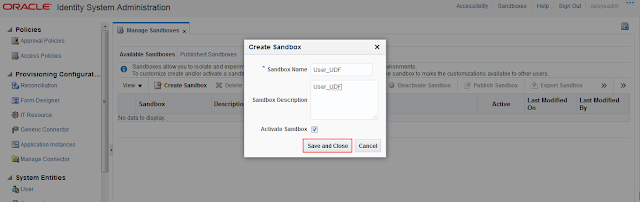
Give sandbox name and click on Save and Close.
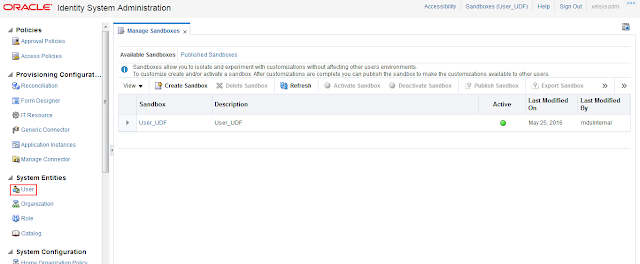
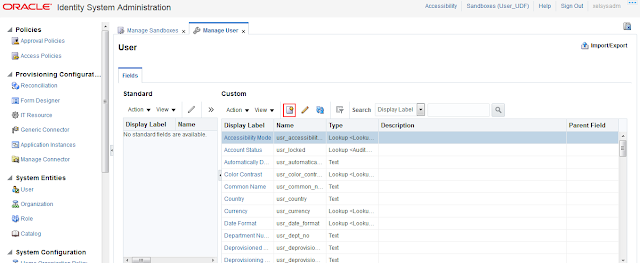
Go to User tab.
Click on new icon as highlighted in below screen shot.
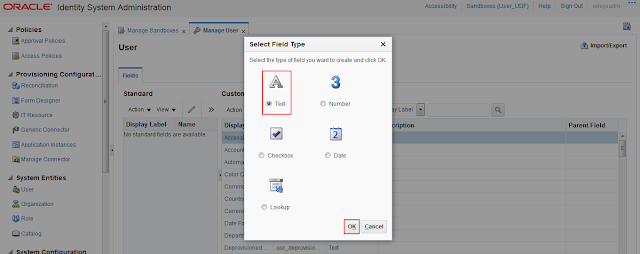
Select Field Type.
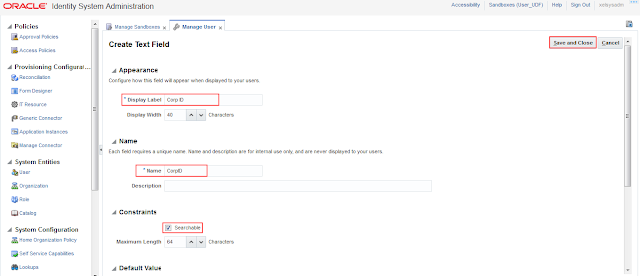
Enter Display Label field and then click on “Save and Close”.
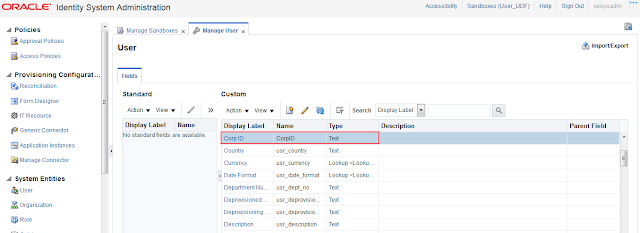
Custom field is created.
Go to Manage sandboxes and publish that sandbox.
The custom field is now registered in the “USR” Table.
Now to add the custom field "Corp ID" on Create User Page, follow the below steps:
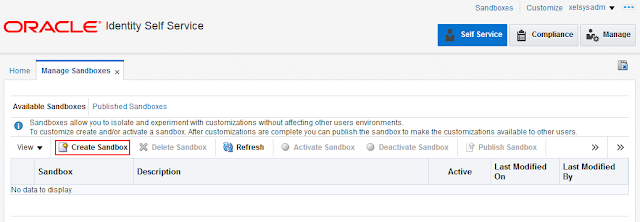
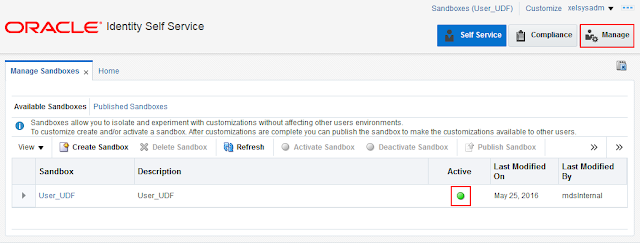
Login to Identity Self Service console using "xelsysadm" credential and create a new sandbox and activate it.
Click on Create Sandbox.
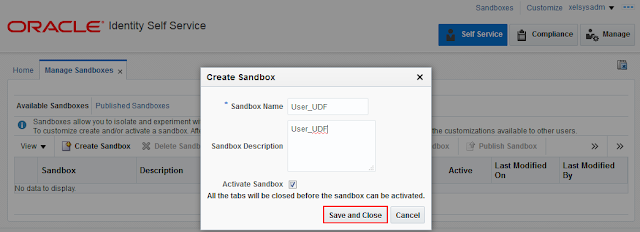
Give sandbox name and click on Save and Close.
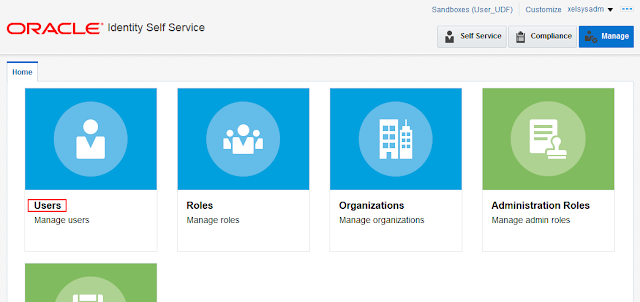
Go to "Manage" tab.
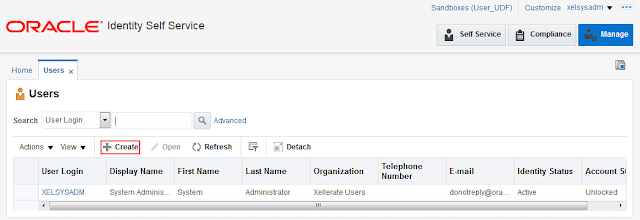
Click on Users tab.
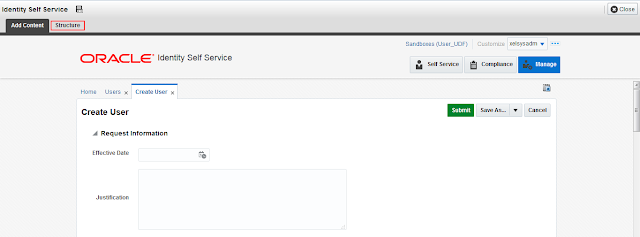
Click on Create.
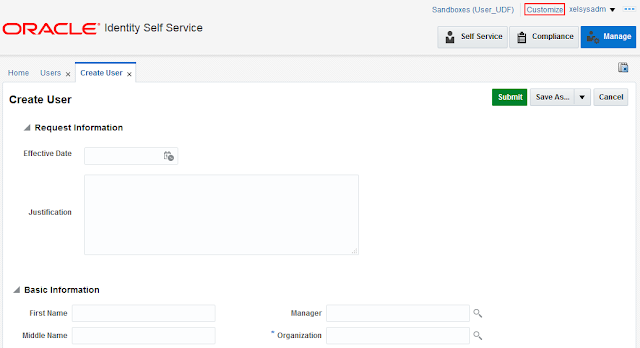
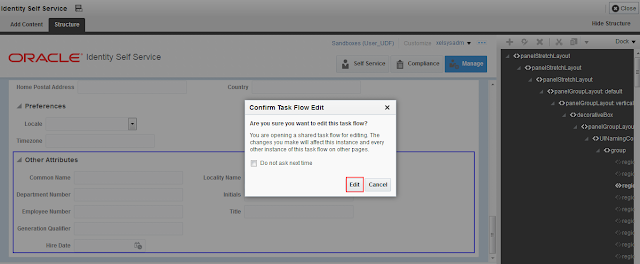
Click on customize on top right corner of the Identity console.
Click on Structure tab.
Click on Edit.
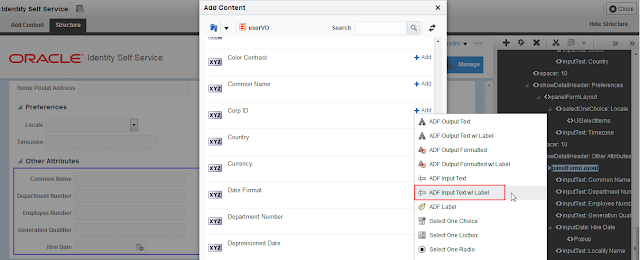
Click on the panel where you want to add this custom attribute and then click on add symbol.
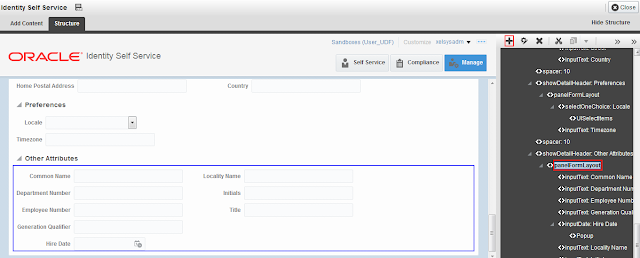
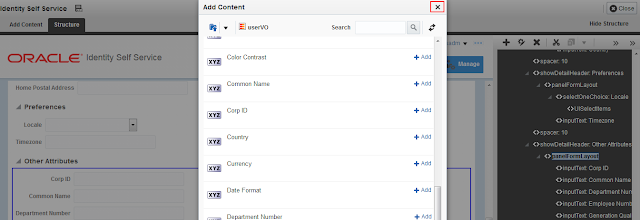
Open Data component-Catalog.

Open userVO.
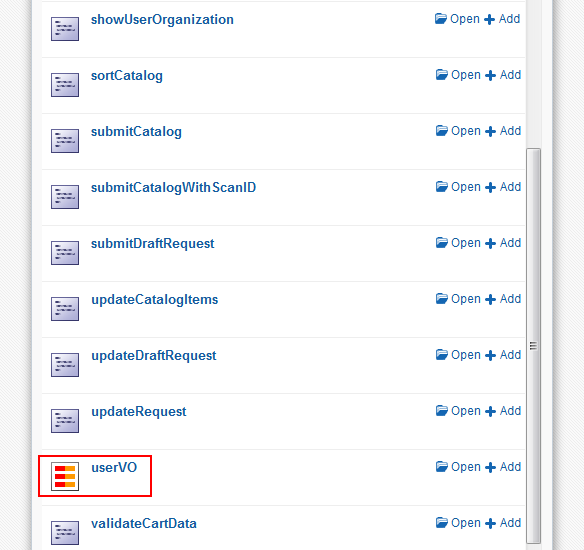
Search for added custom field and click on Add.

Select the option : ADF Input text with label.
Click on cross icon.
Click on Close button.
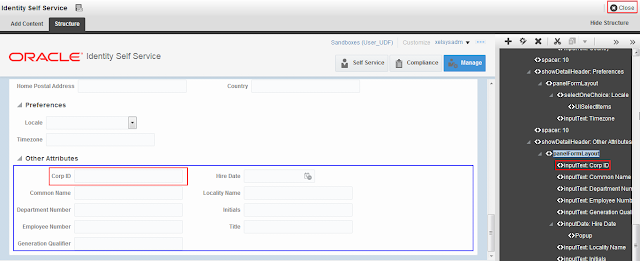
Go to manage sandboxes and publish sandbox.

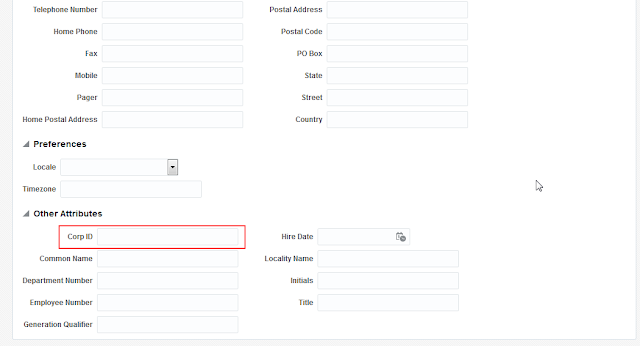
We can see, "Corp ID" custom field added successfully.

No comments:
Post a Comment